Artworking (sometimes called mac’ing) is the process of taking a final design, and turning this into output ready artwork. Document set-up should be the final step before a file is dispatched to a printery. Being a competent artworker not only helps avoid potentially time consuming or costly mistakes. But also enables maximum benefit from print as you simply understand the medium better. Let’s look at some technical considerations to help you navigate this:
Document Set-up
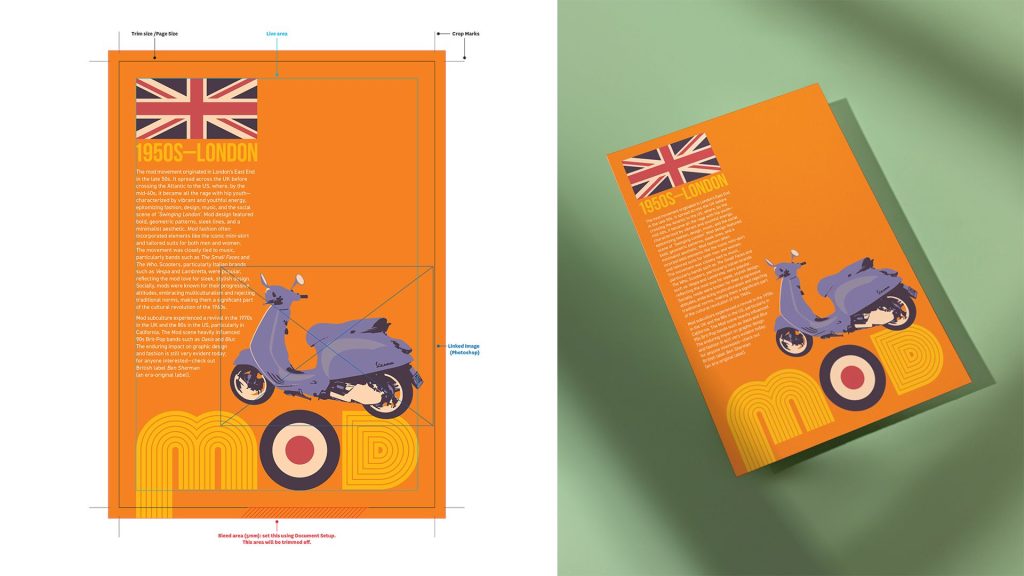
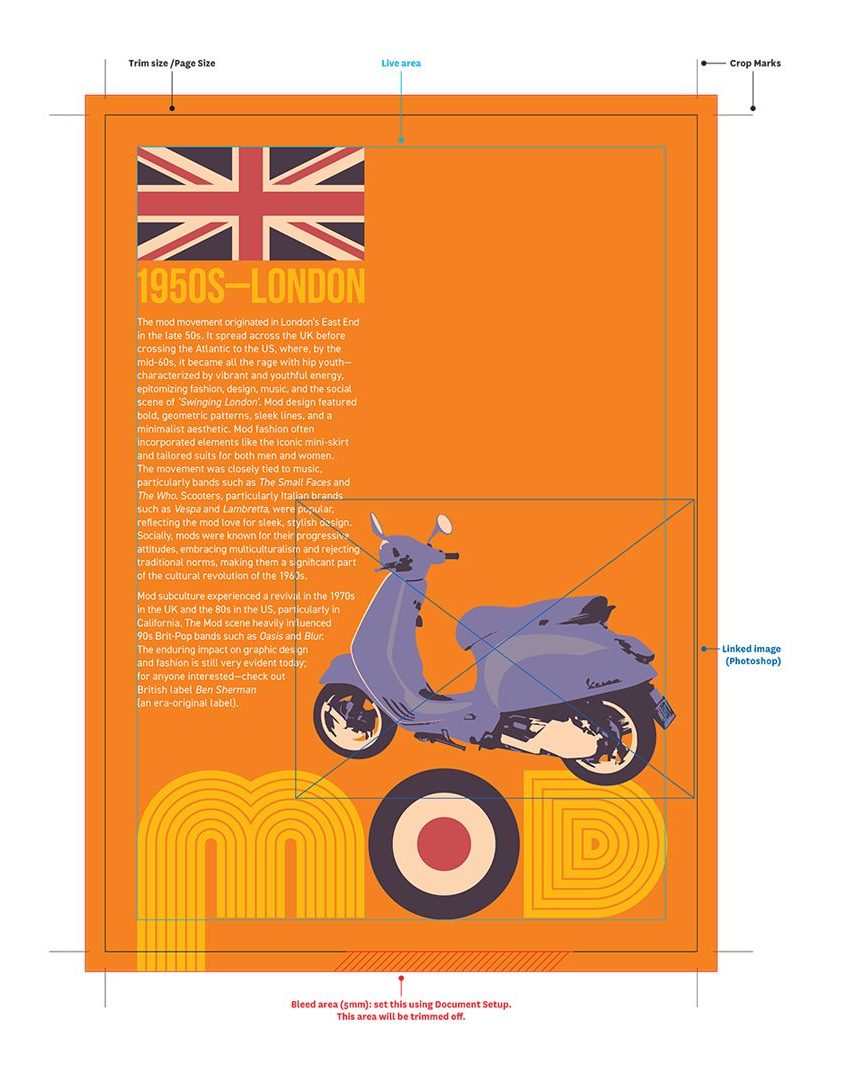
Correct document set up is the first component for creating good artwork. For this topic, we will be using the below example project. This is a single-sided, five colour (CMYK + one Spot colour) A5 flyer. The artwork was created using Adobe Illustrator—with one linked Photoshop image (indicated by the blue frame). This artwork could also have been constructed using Adobe InDesign or QuarkXPress).Here are the things to consider:
Correct Page Size
Your document page size should always be set to the intended finished trim size—e.g. if the finished size is A4—your document set up size should be A4. As a general rule, unless the printer instructs otherwise—do not set your artwork up on an oversized page or attempt to gang-up or impose the artwork. The prepress team at the printery will do this for you. Note: if your project is a multipage document, the trim size is the bound folded size.
Adding Bleed
Where a design includes elements running off the trim edge (such as full-page photos or colour fills), this artwork must include bleed—a printed area extending outside the trim. All elements running off the trim edge must extend to, or past, the outer edge of this bleed area (5mm is sufficient). The purpose of bleed is to compensate for possible trimming inaccuracies (remembering that trimming is a manual process).
 Without bleed, a final trimmed piece can end up with unsightly hairlines around some edges where the trimming is off. Note that bleed is not required on the inside (binding) edge for bound documents—only on the outer edges.
The below close-ups of our example artwork show the difference between not using bleed (left) and using bleed (right). You can see a fine hairline of white paper on the version without bleed where the trimming was slightly off by about 1mm. The other version does not have a hairline as the bleed compensated for the mis-cut. When setting up bleed, all elements running off the page must then extend to (or past) this bleed guide. In our example artwork (opposite)— note how the orange fill colour, plus the M graphic both extend to the bleed guide
Note that if you are using digital printing—many of these systems use standard pre-cut A-Series sheets (such as SRA3 or A3) and can not print to the absolute edge as they require a 3-5mm unprinted grip around the sides. In this situation, you want elements to extend off the trim—talk to your printer about this before you get too far into the design, as they may require you to work at a slightly smaller document size to allow for bleed and crop marks).
Live Area
A live area is a ‘safe zone’ within your page. The purpose is to avoid something important being trimmed off because it sits too close to the trim edge. For example, a phone number, a website address, headers and footers or page numbers. If the trimming is slightly off, the element gets cut away. There is no hard and fast amount for setting a live area. And there is no ‘live area’ function within the design apps. But as a general rule, ensure no critical elements are within about 10mm of the trim edge. If you do have critical elements running close to the trim—make the printer aware of this so they can keep a close eye on these during the final trimming.
Crop & Printers’ Marks
Printers’ marks are added to artwork for the purpose of assisting the printer in a number of areas: colour registration, colour run-up (ensuring the correct densities), and for indicating the trim size. There are a number of different printers’ marks. But generally (and unless instructed otherwise by the printer) you only need to add Crop Marks to your artwork. In most instances, you can ignore Bleed Marks, Registration Marks, Colour Bars and Page Information.
Crop Marks are added during the exporting PDF process (this is an option within the save/export PDF function in both Adobe InDesign and Illustrator). You do not need to draw these onto your artwork manually.
This article was originally published in GSM-CMYK. To read this and other great articles purchase this issue here.